

Upgrade Guide: Switching to Linux Mint 22 from 21.3
The arrival of Linux Mint 22, nicknamed “Wilma,” has piqued the interest of many users who are eager to transition from Mint 21.3, code-named “Virginia”. Rest assured, you have come to the right place for a seamless update process!
The upgrade to a new operating system version may appear daunting at first glance. However, we have crafted this tutorial to be user-friendly and all-encompassing to alleviate any concerns you may have during the transition.
Each step outlined in this guide has been meticulously vetted to ensure practicality and reliability. Our objective is to provide you with nothing but top-notch assistance.
Let’s embark on this journey together to guarantee a successful and enriching migration from Linux Mint 21.3 to 22.
Step 1: Safeguard Your System
Right from the outset: backing up your system is imperative! Before advancing from Linux Mint 21.3 to 22, it is crucial to create a system snapshot. This precautionary measure will enable you to restore your system to its prior state in case of any mishaps.
Skip this snapshot step now, and you will be compelled to initiate it at the beginning of the upgrade process, complicating matters as the mint upgrade tool verifies the existence of an available snapshot. Hence, it is advised to address this promptly. Here’s how:
Initiate the timeshift application by locating it in the start menu. Upon prompt, input your user password.
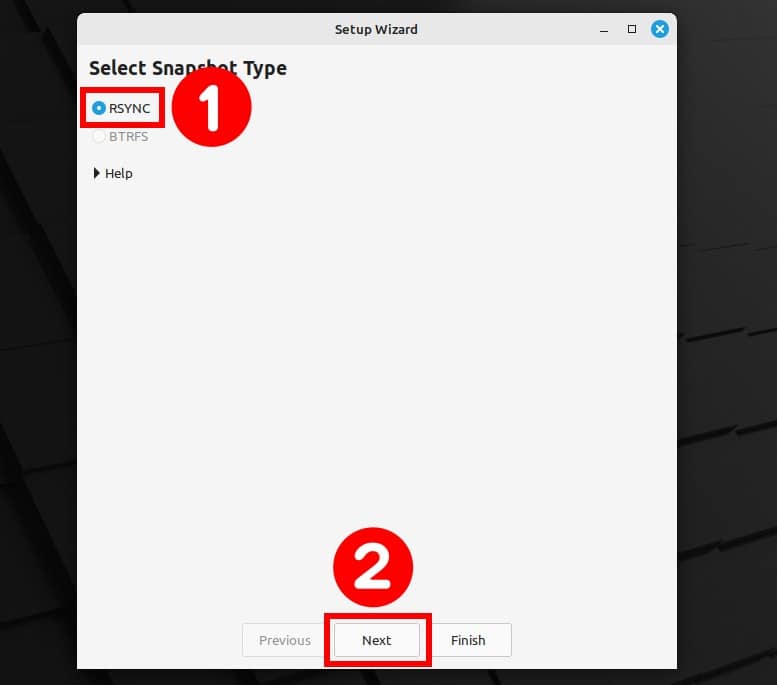
If this is your initial use, follow a quick setup process by opting for “RSYNC” and progressing with “Next.”
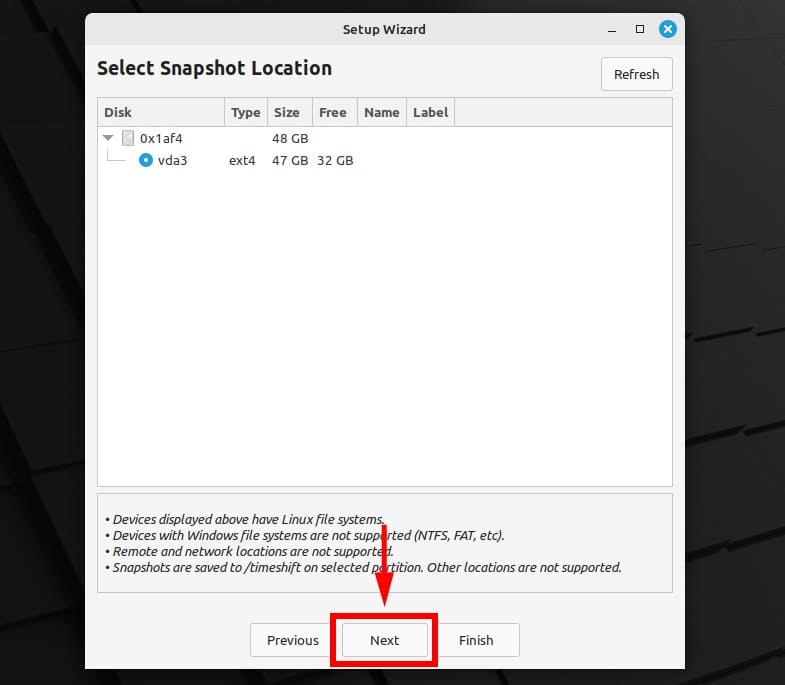
The subsequent screen showcases your dock and its available space. Disregard any actions on this page—just proceed by clicking “Next.”
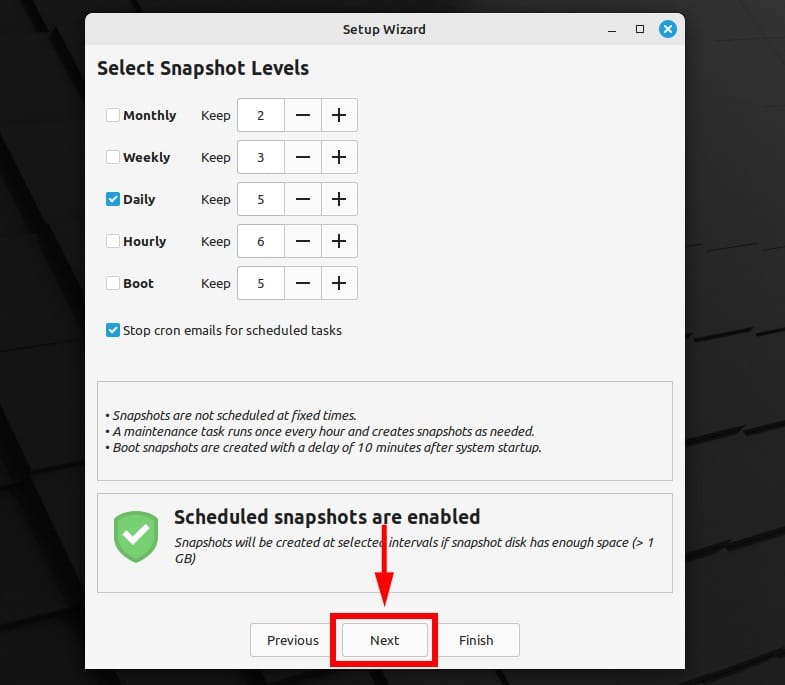
Maintain the default configurations and click “Next” to proceed. We’re almost there.
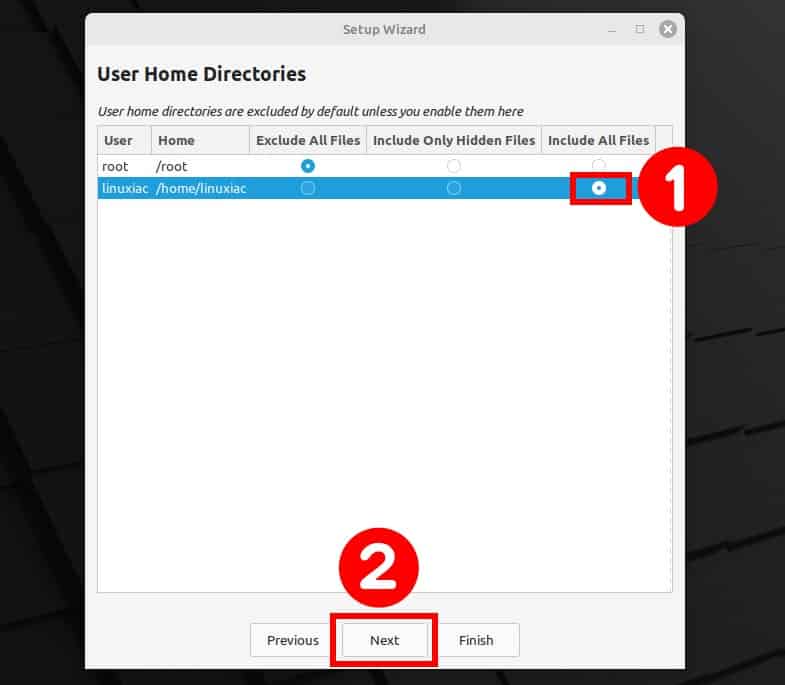
On the subsequent screen, you’ll encounter an option to back up the files in your user directory, typically not preselected. Opt for “Include All Files” for a comprehensive backup. Click “Next” one last time.
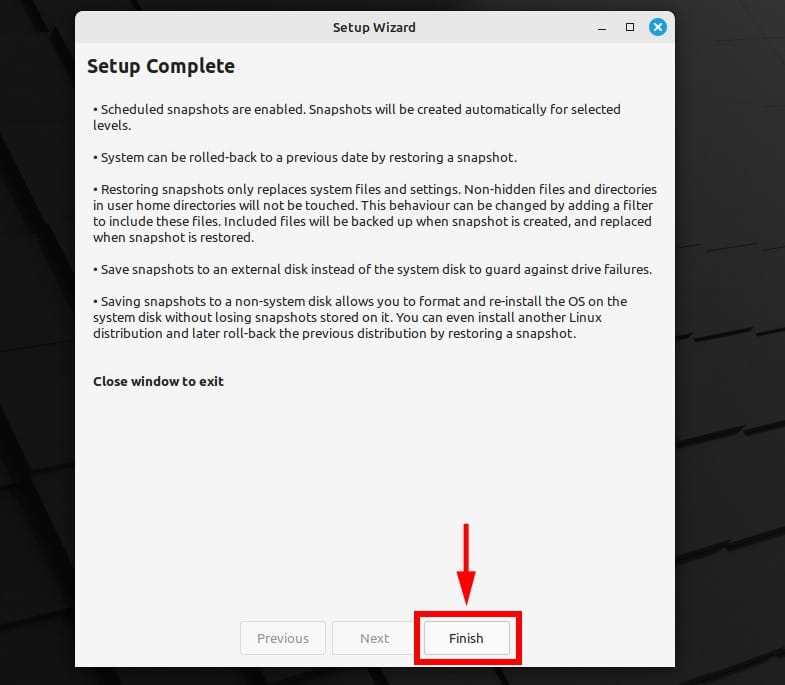
Proceed with clicking “Finish,” and we’re all done.
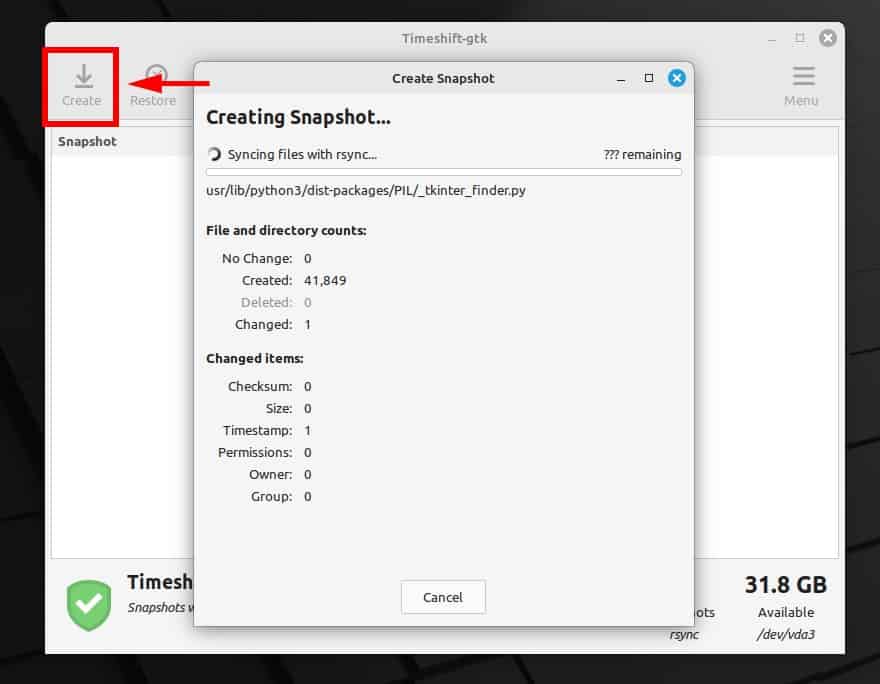
Press “Create” to initiate the snapshot creation process for your Mint 21.3 system and await completion.
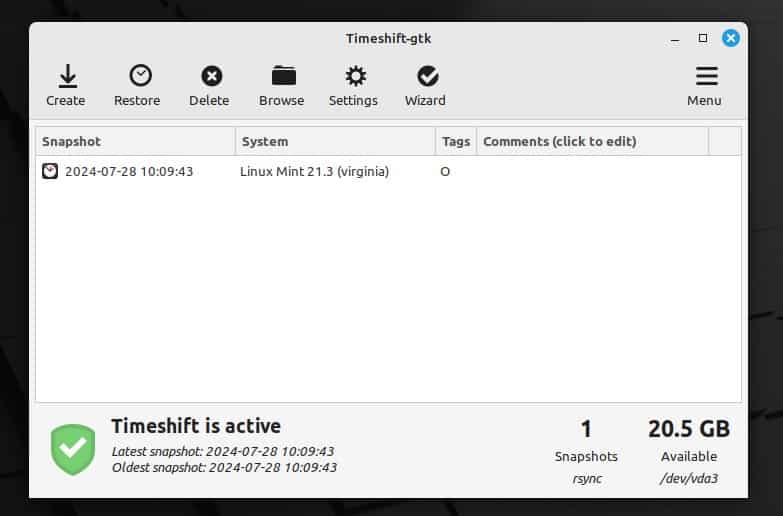
Upon completion, you will see a screen akin to the one below. The snapshot task is finalized. Close the Timeshift application and proceed to the subsequent stage.
Step 2: Update Software
Ensure your current Linux Mint 21.3 system is completely updated with no pending packages.
Execute the following commands to confirm no packages are awaiting updates. Should any exist, apply them prior to proceeding:
sudo apt update
sudo apt upgradeCode language: Bash (bash)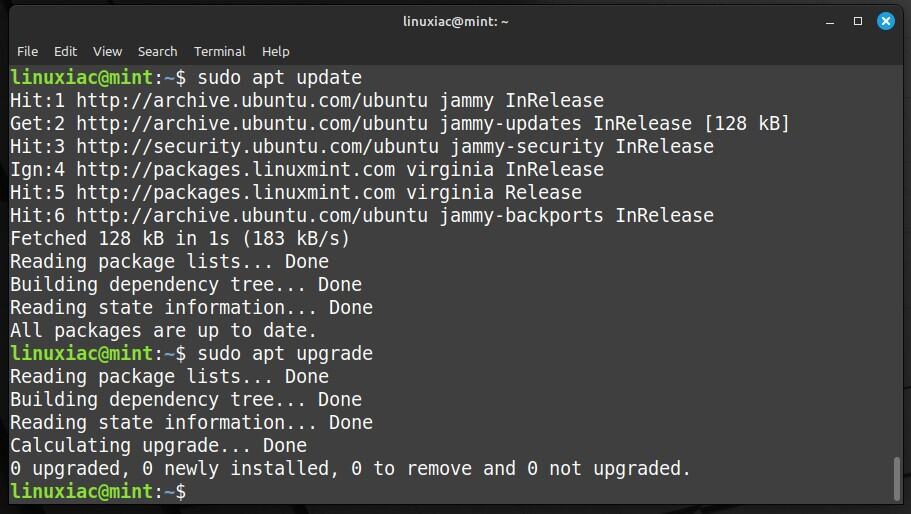
Moreover, disable your screensaver and update any additional Cinnamon spices such as applets, desklets, extensions, or themes from the System Settings.
Step 3: Transition to Linux Mint 22 from 21.3
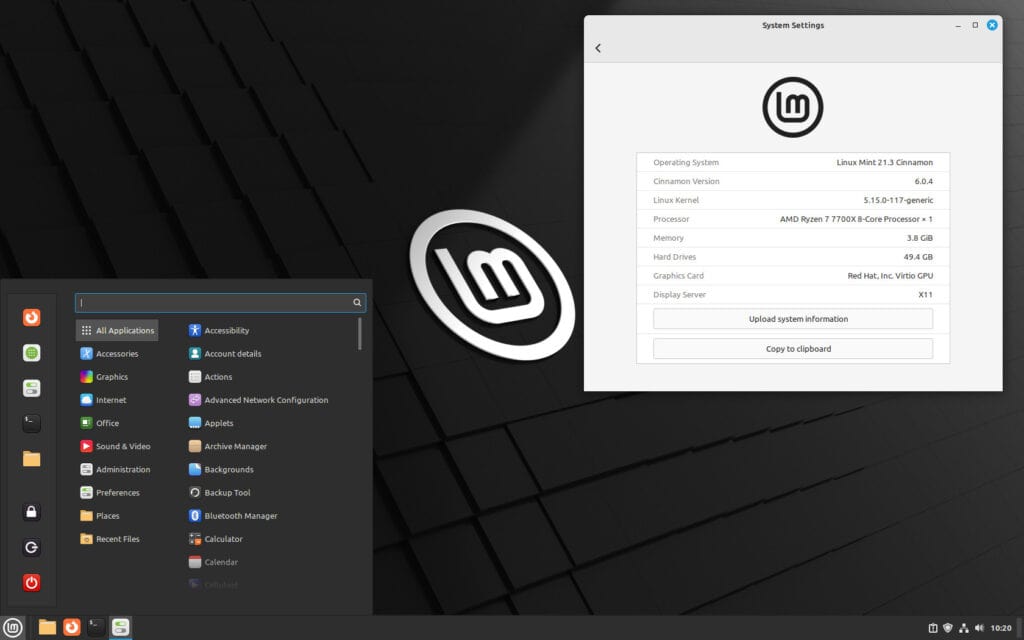
All prerequisites are now met to commence the upgrade to Linux Mint 22. Here is a glimpse of our Linux Mint 21.3 “Virginia” system before embarking on the journey to Mint 22 “Wilma”.
In the terminal, execute the command below to install the mintupgrade tool.
sudo apt install mintupgradeCode language: Bash (bash)