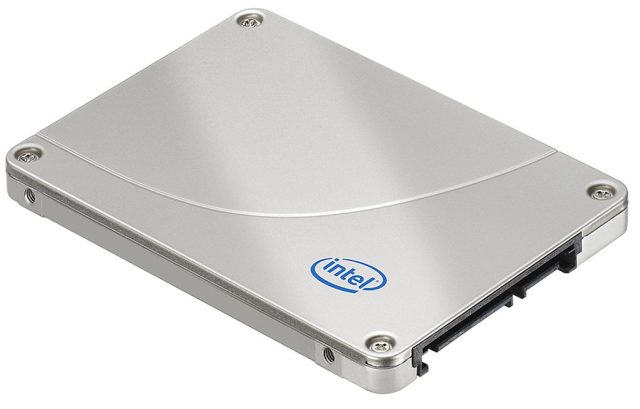
Introduction: In today’s digital age, upgrading your computer’s storage capacity is essential for handling large files and running demanding applications smoothly. One popular option for boosting storage performance is installing a Solid State Drive (SSD). In this comprehensive guide, we’ll walk you through the step-by-step process of installing a 2TB SSD into your computer. Whether you’re a novice or a seasoned tech enthusiast, this guide will equip you with the knowledge and confidence to perform the upgrade yourself.
Section 1: Understanding SSDs
- Explanation of SSD technology and benefits over traditional Hard Disk Drives (HDDs)
- Overview of different SSD form factors and interfaces
- Advantages of upgrading to a 2TB SSD, including increased storage capacity and faster data transfer speeds
Section 2: Preparing for Installation
- Assessing compatibility: Ensure that your computer supports SATA or NVMe SSDs and has available drive bays or M.2 slots for installation
- Gathering necessary tools: Screwdriver, SATA cables (if applicable), and anti-static wrist strap
- Backing up data: Safeguard important files by transferring them to an external drive or cloud storage solution
Section 3: Physical Installation Process
- Powering off the computer and disconnecting all cables
- Opening the computer case: Removal of side panels or access doors
- Locating the drive bay or M.2 slot: Consult your motherboard manual for specific instructions
- Mounting the SSD: Securing the SSD in place using screws or mounting brackets
- Connecting cables: Attaching the SATA data and power cables (if applicable) or inserting the M.2 SSD into the appropriate slot
Section 4: Software Configuration
- Booting up the computer and accessing the BIOS/UEFI settings
- Verifying SSD detection: Confirming that the SSD is recognized by the system
- Initializing the SSD: Formatting the drive using Disk Management (Windows) or Disk Utility (macOS)
- Cloning data (optional): Transferring existing data from the old drive to the new SSD using cloning software
Section 5: Post-Installation Optimization
- Enabling AHCI mode: Enhancing SSD performance by enabling Advanced Host Controller Interface (AHCI) in BIOS settings
- Updating firmware: Checking for and installing the latest SSD firmware updates from the manufacturer’s website
- Configuring TRIM support: Enabling TRIM command to maintain SSD performance and longevity
- Verifying SSD health: Monitoring SSD health and performance using manufacturer-provided software or third-party utilities
Section 6: Troubleshooting and Common Issues
- Addressing potential issues such as drive not detected, BIOS/UEFI settings, or compatibility issues
- Troubleshooting steps and solutions for common SSD installation problems
Conclusion: Upgrading to a 2TB SSD is a cost-effective way to boost your computer’s performance and storage capacity. By following the step-by-step instructions outlined in this guide, you can confidently install a 2TB SSD into your computer and enjoy faster boot times, quicker application launches, and improved overall system responsiveness. Remember to take your time, follow safety precautions, and refer to your computer’s documentation for specific installation guidelines. With the right tools and knowledge, upgrading to an SSD has never been easier.


