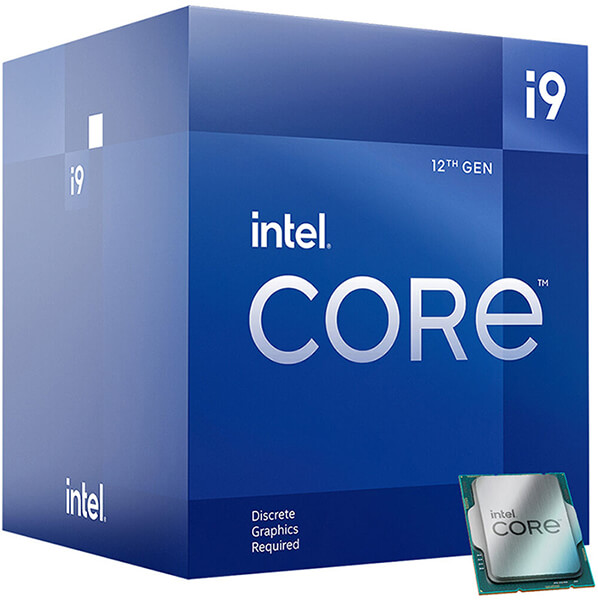
The Intel Core i9-12900 is a high-performance processor designed for demanding computing tasks. Installing this CPU requires careful handling and attention to detail to ensure proper installation and optimal performance. Follow these steps to safely install the Intel Core i9-12900 CPU in your system:
1. Gather the Necessary Tools and Components:
- Intel Core i9-12900 CPU
- Compatible motherboard with LGA1700 socket
- Thermal paste
- Screwdriver
- Anti-static wrist strap (recommended)
2. Prepare Your Workspace:
- Choose a clean, well-lit area to work on your system.
- Ensure that you have a stable surface to place your motherboard on.
3. Remove the Motherboard from the Case:
- If your motherboard is already installed in your PC case, carefully remove it to access the CPU socket.
- Place the motherboard on a flat, non-conductive surface.
4. Prepare the CPU Socket:
- Locate the CPU socket on the motherboard. The LGA1700 socket is usually located near the center of the motherboard.
- Lift the retention arm to open the CPU socket.
5. Apply Thermal Paste:
- Apply a small amount of thermal paste to the center of the CPU. This helps ensure proper heat transfer between the CPU and the heatsink.
6. Install the CPU:
- Carefully remove the Intel Core i9-12900 CPU from its packaging, handling it only by the edges to avoid damaging the delicate pins.
- Align the CPU with the socket, ensuring that the alignment notches on the CPU match the corresponding notches on the socket.
- Gently place the CPU into the socket, making sure not to apply any pressure. The CPU should drop into place naturally.
- Once the CPU is seated correctly, lower the retention arm to secure the CPU in place. The arm should close smoothly without any resistance.
7. Install the CPU Cooler:
- Attach the CPU cooler to the motherboard following the manufacturer’s instructions. This typically involves securing the cooler to the CPU socket using mounting brackets or screws.
- Connect the CPU cooler’s fan cable to the CPU fan header on the motherboard.
8. Reassemble Your System:
- If you removed the motherboard from the case, carefully reinstall it, ensuring that all screws and connectors are properly secured.
- Reconnect all cables, including power cables, data cables, and front panel connectors.
9. Power On Your System:
- Once everything is reassembled, power on your system to verify that the CPU is functioning correctly.
- Enter the BIOS/UEFI setup to ensure that the CPU is detected and properly recognized by the motherboard.
10. Monitor Temperatures and Performance:
- Use monitoring software to keep an eye on CPU temperatures and performance. Ensure that temperatures remain within safe limits under load.
Congratulations! You have successfully installed the Intel Core i9-12900 CPU in your system. With its powerful performance and advanced features, you’re now ready to tackle even the most demanding computing tasks with ease.


